
Roofing Insurance Claims for Storm Damage: Homeowner’s Guide
12/05/25
6 Min Read
When a severe storm damages your home, dealing with roofing insurance claims for storm damage can feel overwhelming. High winds, hail, and falling debris can all cause hidden leaks and structural issues that require quick action. Understanding the claim process and what to do before, during, and after filing a damage insurance claim helps protect your home and ensures the work is done correctly through your homeowners insurance policy.
In this guide, you’ll discover:
- Steps to take immediately after a storm.
- How to document roof damage.
- What to know before filing an insurance claim.
- Tips for working with a roofing contractor.
- Why professional inspections are essential.
Understanding Storm Damage and Your Roof
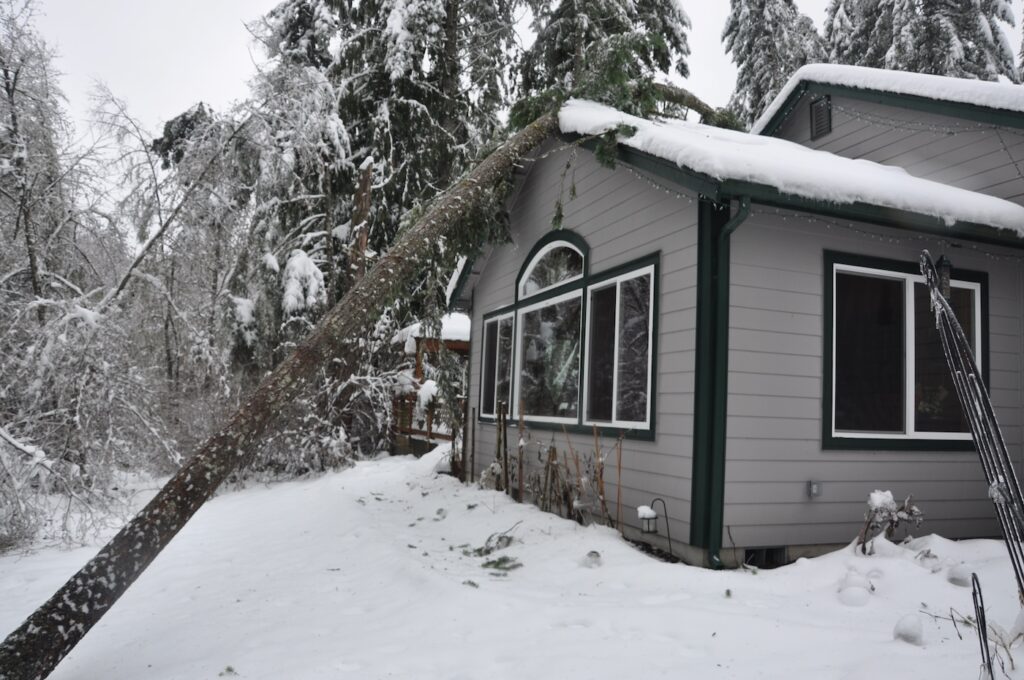
Storms can damage a roof in more ways than one. High winds lift shingles, hail dents surfaces, and flying debris can crack or puncture materials. Even small issues, like loose flashing or minor leaks, can grow into major structural problems if not addressed quickly.
Common signs of storm damage include:
- Missing shingles: Gaps expose the underlayment to moisture.
- Dents or bruises: Hail strikes create small cracks that weaken materials.
- Leaks or water stains: Moisture often appears on ceilings or attic decking.
- Granule loss: Asphalt shingles shed their top layer after heavy impact.
- Gutter buildup: Debris from broken shingles or flashing often collects here.
Acting quickly after a storm not only protects your home but also helps when you begin the insurance process.
Step 1: Inspect and Document Roof Damage
After a storm passes, assess your property safely from the ground. Avoid climbing onto the roof until a professional can confirm it’s secure.
- Take photos and video: Capture clear images of any visible damage to roofing materials, gutters, and surrounding areas.
- Record the storm date: Insurance companies often require proof of when the damage occurred.
- Check interior spaces: Look for water spots or bubbling paint on ceilings or walls.
- Save temporary repair receipts: If you must cover leaks with tarps or sealants, keep all documentation for reimbursement.
The more thorough your documentation, the easier it will be to file and support your roofing insurance claim through your homeowners’ insurance provider. In many cases, extensive documentation reveals that a simple repair won’t suffice. If your property has sustained significant impact, you can learn more about the process and signs that point toward a full storm damage roof replacement in our detailed guide.
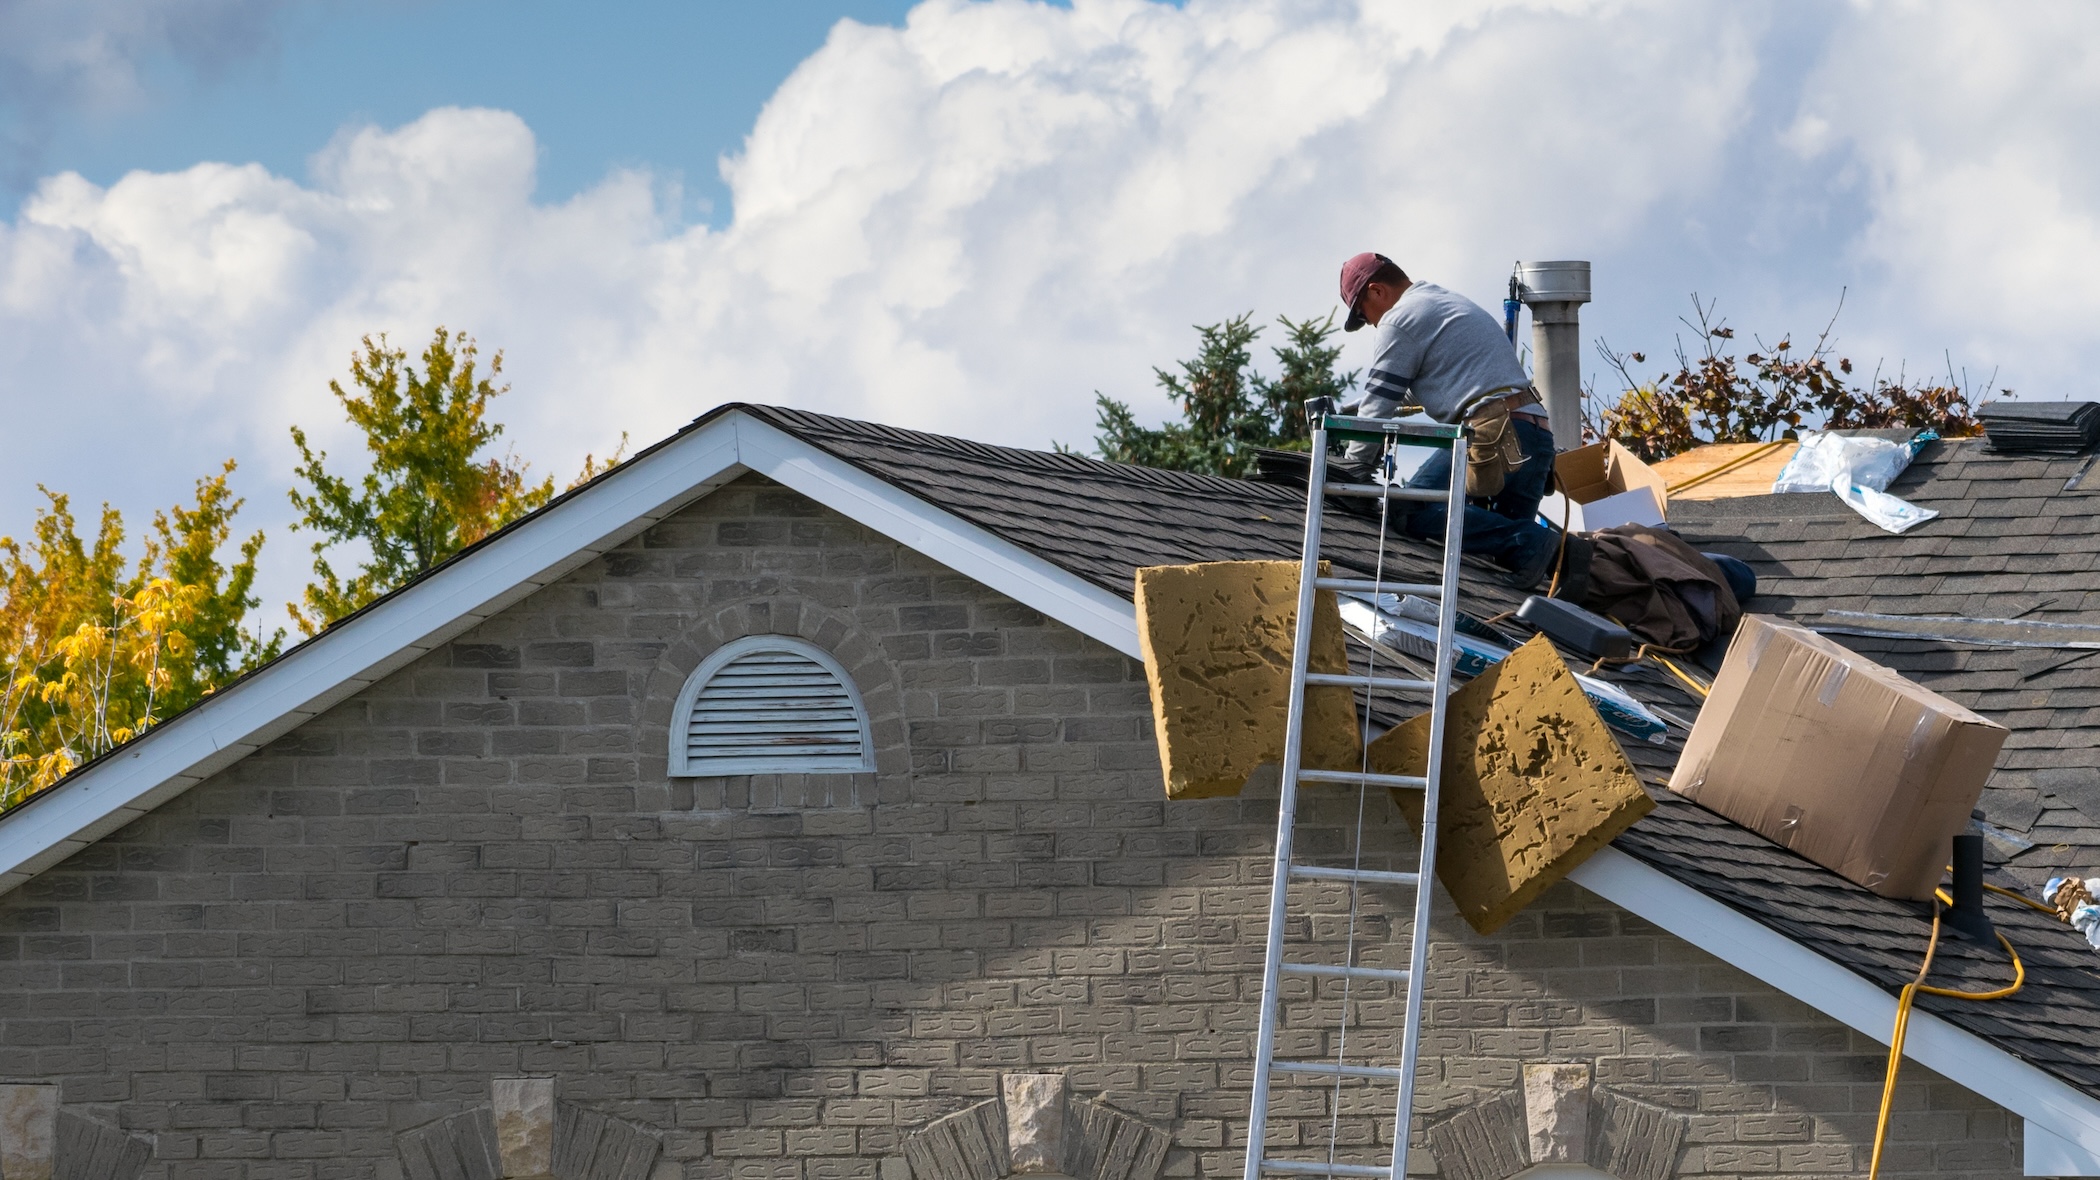
Step 2: Contact a Professional Roofing Contractor
Before filing a claim, it’s best to schedule a professional roof inspection. A qualified contractor can identify both visible and hidden damage, helping you determine whether a damage insurance claim is necessary.
- Accurate assessment: A contractor can confirm whether the damage meets your insurance deductible threshold.
- Detailed report: Photos, notes, and repair recommendations that support your claim.
- Expert insight: Guidance on next steps based on the severity of damage and roof age.
Hiring a roofing contractor specialized on storm restoration ensures that your roof’s condition is documented correctly before you contact your insurance adjuster.
Step 3: File Your Roofing Insurance Claim
Once you have the professional inspection report and documentation ready, contact your homeowners’ insurance company. Most policies require filing a claim within a specific timeframe after the storm.

- Provide complete details: Include inspection findings, photos, and repair estimates.
- Meet with the adjuster: Your insurance adjuster will schedule an on-site visit to verify the damage.
- Be present during inspection: Having your contractor there can help ensure all roof issues are properly evaluated.
Keep communication clear and organized throughout the claim process. Maintaining a record of calls, emails, and inspection notes helps ensure nothing is overlooked.
Step 4: Review and Approve the Estimate
After inspection, your insurer will issue a claim estimate. Review it carefully to understand what repairs are covered.
- Scope of work: Confirm it includes materials, labor, and necessary repairs.
- Excluded damage: Some policies may not cover wear and tear or pre-existing issues.
- Repair method: Verify that recommended repairs meet local building codes and manufacturer guidelines.
- Settlement type: Check if your policy pays replacement cost or actual cash value, which can affect your final payout.
If anything seems unclear, request clarification from your insurance provider before work begins.
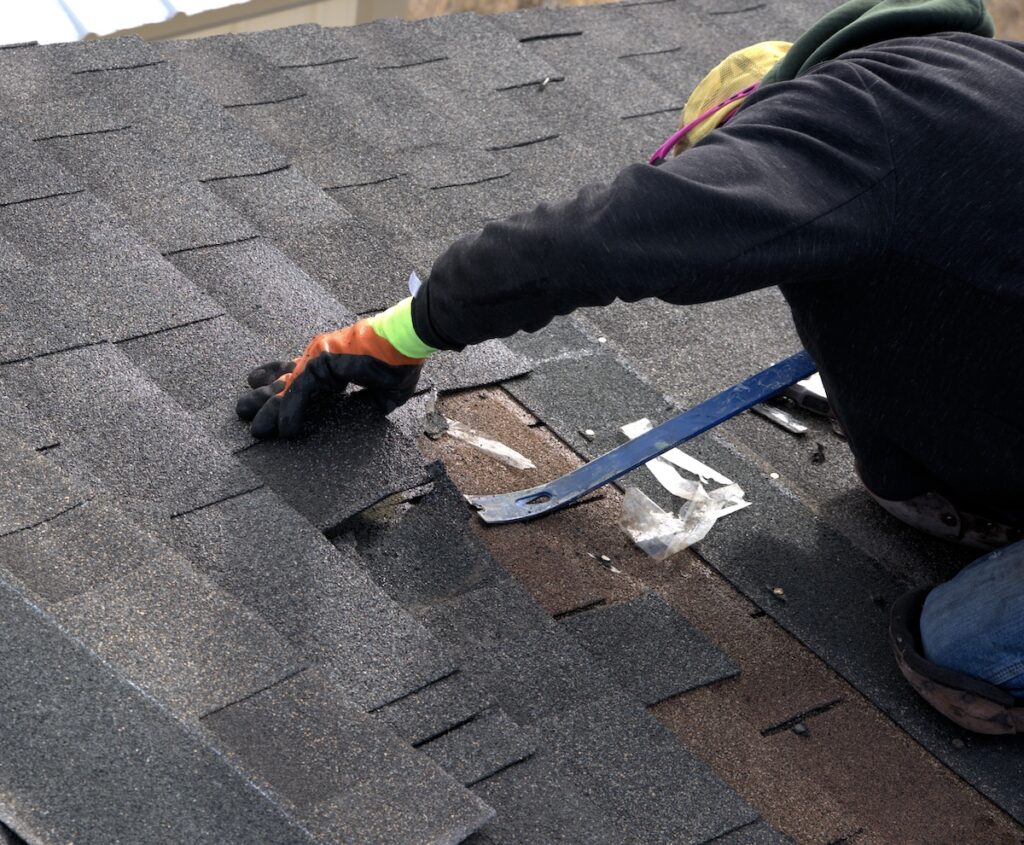
Step 5: Schedule Roof Repairs
Once your claim is approved, you can move forward with the repair or replacement project. Select a professional roofing contractor familiar with your roofing system and local weather conditions. A reputable contractor will follow manufacturer guidelines, use quality materials, and prioritize safety throughout the project.
During the repair process, ensure that flashing, vents, and drainage systems are properly sealed to prevent future leaks. Quality workmanship is essential to restoring your home’s protection after a storm.
4 Tips for Navigating the Claim Process Smoothly
The insurance claim process involves multiple steps, and understanding them can save time and frustration. Your homeowners insurance policy outlines coverage for different types of storm damage, but policies may vary depending on deductibles and regional requirements.
- Be proactive: Notify your insurance provider quickly after a storm event.
- Keep everything organized: Store digital copies of your inspection reports and estimates.
- Work with experts: A reliable roofing contractor can provide reference photos and clear documentation to help your adjuster verify the extent of roof damage.
- Follow timelines: Missing deadlines for paperwork or inspections can delay your claim approval.
By staying organized and informed, you can ensure the claim process runs as smoothly as possible and that your home receives the attention it deserves.
Maintaining Your Roof After Storm Repairs
After repairs are complete, continue monitoring your roof throughout the year. Schedule regular inspections, especially after major weather events, to identify minor issues early. Preventive maintenance not only extends your roof’s lifespan but can also simplify future insurance claims by providing a clear record of upkeep.

Professional Roof Inspections You Can Trust
Dealing with roofing insurance claims for storm damage can be stressful, but having a trusted expert by your side makes the process easier. Buckeye State Roofing offers detailed roof inspections to help homeowners identify storm-related damage and determine the best next steps.
Our inspections help you understand the condition of your roof and whether professional repairs or maintenance are needed. If a recent storm has impacted your home, contact Buckeye State Roofing to schedule your free inspection and gain confidence in your roof’s condition before starting your damage insurance claim.
