
How To Reseal Windows? (5 Steps For DIY Guide)
1/28/26
6 Min Read
Maintaining your home’s energy efficiency and protecting it from the elements often starts with simple upkeep tasks like how to reseal windows properly. Over time, window seals can break down, allowing drafts, moisture, and outside air to enter your home. Learning how to reseal windows can help lower energy costs, improve comfort, and prevent long-term damage to window frames and surrounding materials.
- Energy savings: Reduces drafts and heat loss around windows
- Improved comfort: Keeps indoor temperatures more consistent
- Moisture protection: Helps prevent water intrusion and mold growth
- Extended window life: Reduces wear on frames and glass seals
- DIY friendly: Manageable project for most homeowners
For homeowners who prefer professional assistance or need quality materials, professional window services can provide added support.
Why Resealing Windows Is Essential
Window seals play an important role in maintaining interior comfort by blocking air leaks and moisture. When seals fail, heating and cooling systems must work harder to maintain temperature, which increases energy usage. Moisture intrusion can also lead to wood rot, peeling paint, and damage to interior walls.
In Brunswick, OH, where seasonal temperature changes and rainfall are common, resealing windows helps protect homes from weather-related wear. Staying proactive with this maintenance task helps preserve both comfort and structural integrity.
- Energy efficiency: Proper seals reduce air leakage and lower utility bills
- Indoor comfort: Eliminates drafts and cold spots near windows
- Damage prevention: Stops moisture that can harm frames and drywall
- Long-term durability: Extends the functional lifespan of windows
- Visual improvement: Fresh seals give windows a cleaner appearance
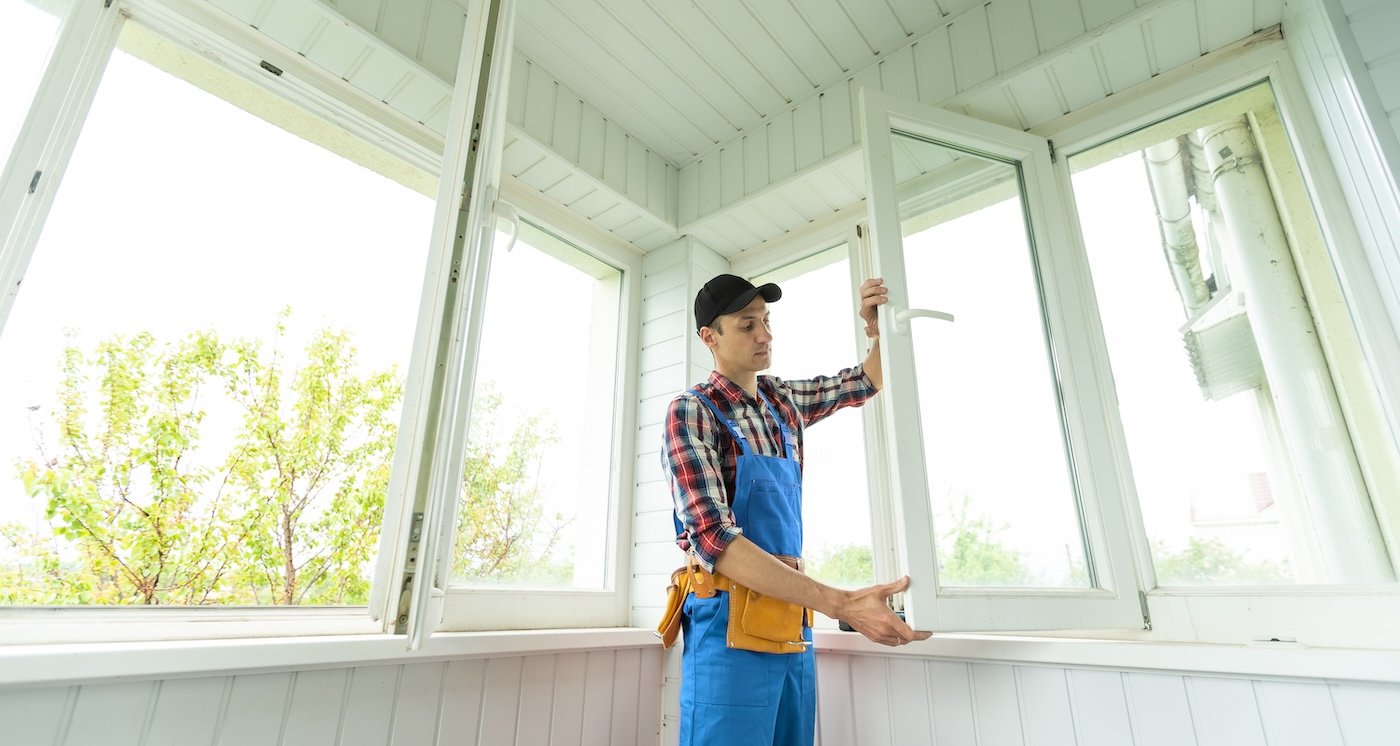
1. Inspect Windows and Identify Seal Failure
Before starting any work, carefully inspect your windows to locate problem areas. Identifying seal failure early helps prevent unnecessary repairs and ensures resealing is effective.
- Check for drafts: Feel for cold air leaking around window panes during a windy day
- Examine existing caulk: Look for cracks, gaps, or peeling sealant
- Watch for moisture signs: Foggy glass panes or water stains indicate broken window seals
2. Gather the Right Tools and Materials
Having everything ready before starting saves time and ensures a smoother process. Using the correct materials also improves durability.
- Caulking gun and exterior-grade sealant: Silicone or polyurethane works best
- Putty knife or scraper: Helps remove old caulk cleanly
- Utility knife: Useful for trimming excess sealant
- Cleaning supplies: Soap, water, rubbing alcohol, and clean rags
- Painter’s tape: Creates neat edges during application
- Low expansion foam: Ideal for sealing large gaps that caulk alone can’t fill
3. Remove Old Caulk and Prep the Surface
Old sealant must be removed completely for new caulk to bond properly. Rushing this step can reduce effectiveness.
- Scrape away old caulk: Use steady pressure to avoid frame damage
- Clear debris: Remove loose particles and residue
- Check for damage: Address rot or cracks before resealing
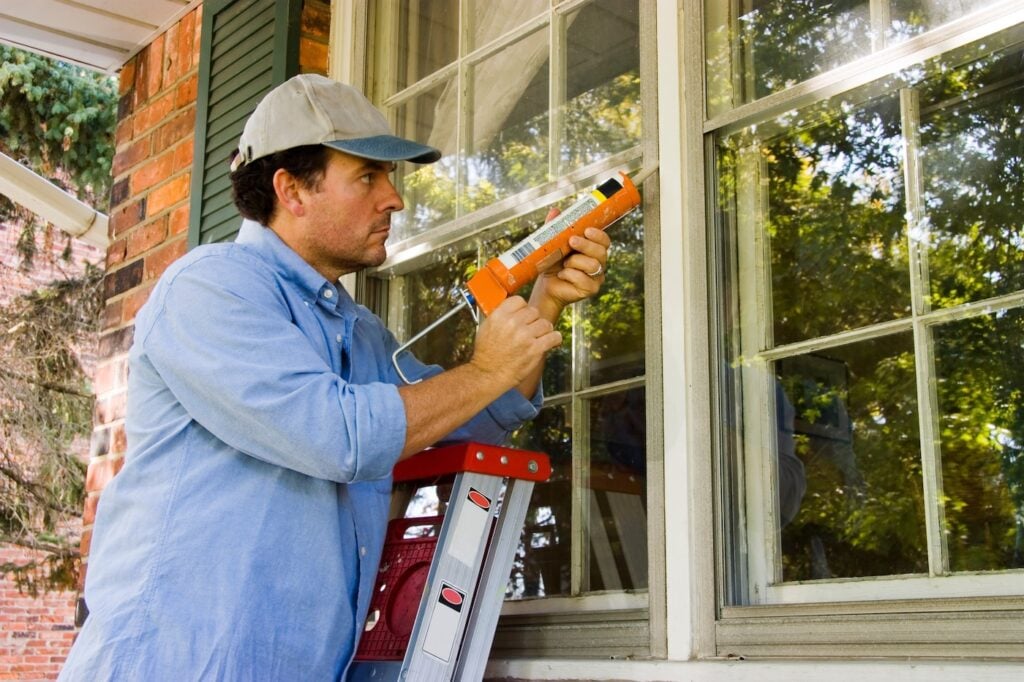
4. Apply New Sealant Evenly
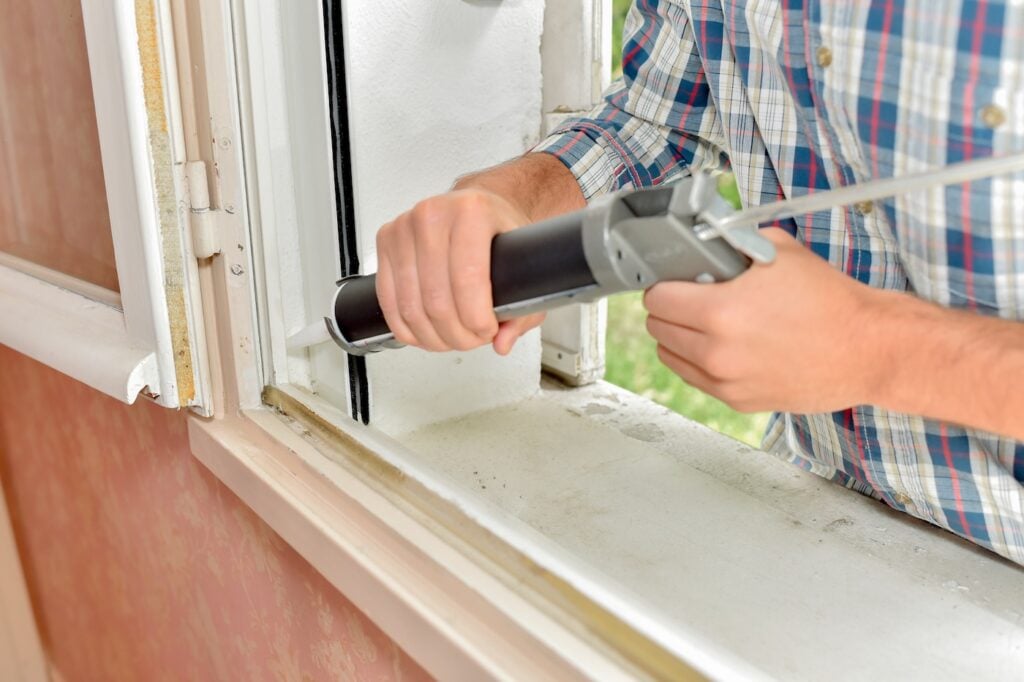
Applying sealant correctly ensures a tight, weather-resistant barrier. Take your time for consistent coverage.
- Apply a steady bead: Run sealant along seams where the frame meets the wall
- Smooth the caulk: Use a damp finger or smoothing tool
- Remove tape carefully: Pull painter’s tape before sealant fully dries
- Seal windows thoroughly: Ensure every edge and corner is covered
5. Allow Curing and Perform Ongoing Maintenance
Proper curing is essential for durability, and routine inspections help extend seal life.
- Follow curing instructions: Allow sealant to dry fully before exposure
- Inspect annually: Look for cracks or gaps and reapply as needed
- Clean window edges: Prevent dirt and buildup from weakening seals
DIY vs. Professional Window Resealing
Not sure whether to reseal your windows yourself or hire an expert? This quick comparison highlights the key differences.
| Feature | DIY Window Resealing | Professional Resealing |
| Cost | Lower upfront cost | Higher, includes labor |
| Time Investment | Several hours depending on window count | Typically faster and more efficient |
| Skill Level | Basic home improvement experience | Requires advanced tools and training |
| Ideal For | Minor drafts and routine upkeep | Damaged frames or multiple failed seals |
| Durability | Varies by product and method | Often backed by warranties |
Signs It’s Time to Reseal Your Windows
Knowing when to reseal your windows can prevent energy waste and long-term damage. These common indicators suggest your seals are failing and need attention.
- Drafts near windows: Noticeable cool air movement even when closed
- Rising energy bills: Poor insulation from failed seals increases HVAC demand
- Water stains or peeling paint: Moisture intrusion around window frames
- Visible cracks or gaps: Deteriorated or missing caulk along frame edges
- Condensation between panes: Indicates broken window seals in double-pane units
Common Questions About Resealing Windows
Homeowners often have concerns when tackling window resealing. Here are answers to some of the most frequent questions.
How often should windows be resealed?
Sealants typically last 5 to 10 years, but annual inspections are recommended. Reapply sealant at the first sign of failure to avoid costly damage.
Can I reseal double-pane windows myself?
You can reseal the exterior edges, but broken internal seals in double-pane windows require professional repair or glass replacement to restore insulation.
What sealant is best for window resealing?
Exterior silicone or polyurethane caulk is best. Choose one labeled for window use and compatible with your siding or frame materials.
When should I call a professional?
Call a professional if you see deep cracks, rot, or moisture between panes — or if you’re unsure how to remove old sealant safely.
More Smart Tips for Successful Window Sealing
Adding a few extra practices to your resealing routine can improve results and keep your home better protected throughout the year.

- Seal from both inside and outside: When possible, applying caulk on both sides provides double protection
- Use clear or paintable caulk: Choose based on aesthetic preference and future painting plans
- Label your sealant: Store extra tubes with labels noting date and location used for reference
- Watch for structural issues: If seals continue to fail, check for shifting frames or foundation problems
- Schedule a seasonal checklist: Include window seal inspection in your fall and spring home maintenance routines
Protect Your Home By Resealing Your Windows Today
Resealing windows is a simple, cost-effective way to keep your home comfortable, energy efficient, and protected from moisture damage. Whether you’re tackling a few minor gaps or doing a full window update, following the right steps ensures success.
We’re proud to serve home and business owners in Brunswick, OH, and nearby communities with professional window repair and resealing services. For expert help and long-lasting results, contact Buckeye State Roofing today to schedule your free inspection.
