

Step Flashing Roof For Leak Protection (5 Installation Tips)
2/18/26
6 Min Read
When it comes to roof waterproofing, step flashing roof installation is one of the most important methods for preventing leaks where roofing meets vertical walls, chimneys, or dormers. This essential roofing detail ensures that water is diverted away from vulnerable joints and seams, protecting both your roof and the structure underneath. Understanding how step flashing works, how it interacts with the roof plane, and how to install it correctly can make the difference between a dry attic and costly water damage.
- Waterproofing defense: Keeps moisture out of seams where the roof meets walls
- Essential for durability: Prevents premature roof failure from slow leaks
- Applies to all materials: Works with asphalt shingles, metal flashing systems, and more
- Building code compliant: Often required to meet installation standards
- Long-term savings: Prevents costly structural damage and mold issues
Why Step Flashing Matters for Roof Leak Protection
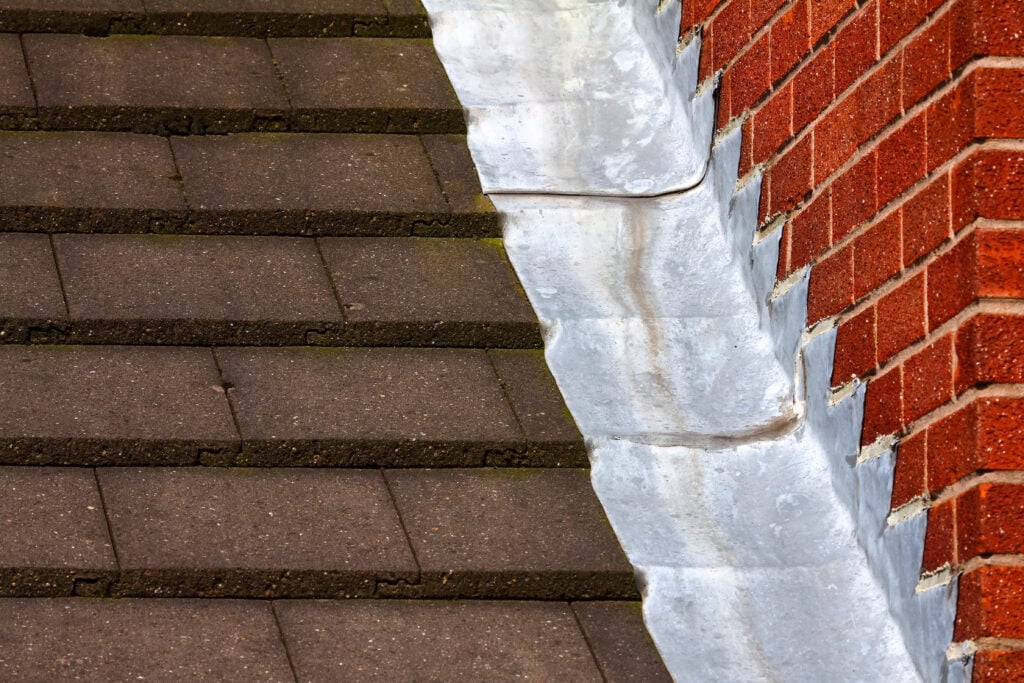
Step flashing is a layered metal flashing installation placed between roof shingles and adjacent vertical surfaces. It steps up with each new shingle course, overlapping to form a water resistant barrier. Proper flashing laps ensure that water naturally flows down the roof plane instead of working its way behind siding or into the wall cavity.
In areas like Parma, OH, where frequent rainfall and snowmelt are common, effective wall flashing and step flashing are essential for long lasting roof systems. Even small failures in flashing laps or improperly installed metal flashing can allow water to reach the roof deck and compromise the entire roofing material system. Using high quality materials such as galvanized steel greatly improves durability and long term leak protection.
- Water redirection: Step flashing channels water onto roof shingles and away from the joint
- Multiple protection points: Each shingle course includes flashing for complete coverage
- Compatibility: Works across asphalt shingles, metal roofing, and tile systems
- Moisture prevention: Shields one of the most leak prone areas of the roof
5 Tips for Installing Step Flashing
Proper installation of step flashing is critical for effective leak protection. Attention to material selection, flashing placement, and fastening technique ensures the entire system performs as intended.
1. Use the Right Materials
Quality flashing starts with durable, rust resistant metal, typically galvanized steel or aluminum. Choosing high quality materials ensures that the metal flashing resists corrosion and maintains strong performance over time. The flashing should always be compatible with your chosen roofing material.
- Galvanized steel: Standard option with strong weather resistance
- Aluminum flashing: Lightweight and corrosion resistant
- Copper flashing: Premium option with high longevity
2. Always Flash Under and Over Shingles
Each step flashing piece should tuck under the siding and over the shingle it sits on. Then, the next row of roof shingles should overlap the metal flashing. This layered design creates proper flashing laps that guide water down the roof plane safely.
- Layer correctly: Alternate between shingle and flashing
- Maintain shingle overlap: Ensures durability and seamless appearance
3. Nail Carefully and Sparingly
Only nail the flashing to the roof deck, not the wall. Improper fastening can disrupt wall flashing alignment and weaken protection. Secure placement helps maintain the integrity of the roof plane without creating unnecessary penetrations.
- Avoid wall fastening: Prevents misalignment and water intrusion
- Use corrosion resistant nails: For long term performance
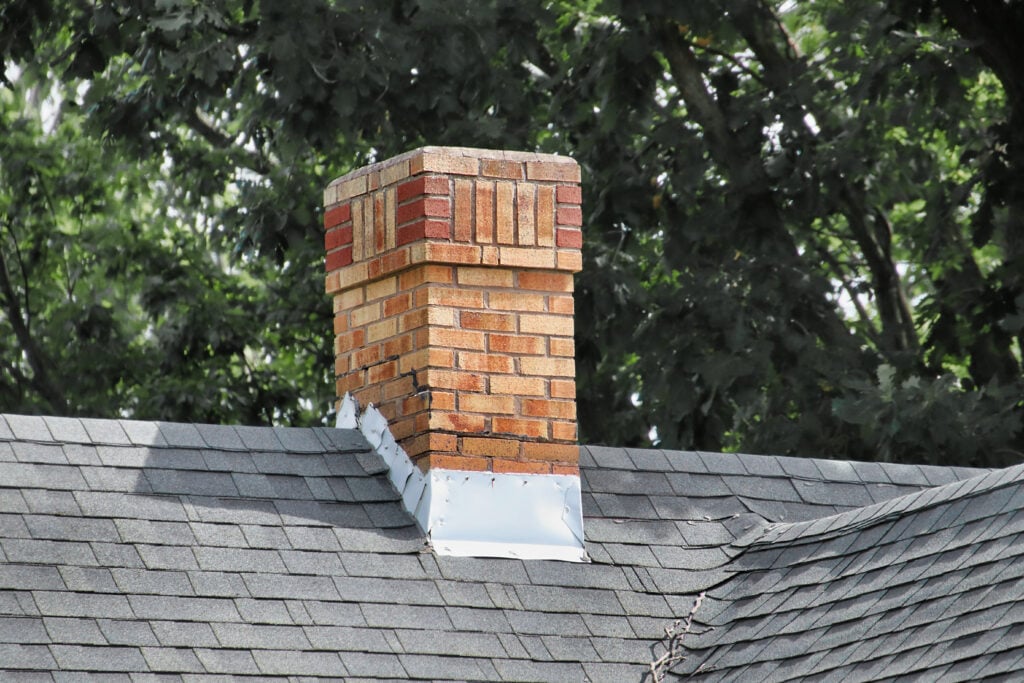
4. Fit Flashing Tightly Around Protrusions
Customize flashing for roof features like chimneys or dormers using tin snips to ensure tight coverage. Accurate cuts and clean bends allow the flashing to sit flush against both the roofing material and vertical surfaces.
- Trim corners neatly: Avoids gaps around edges
- Seal tricky spots: Add roofing cement where needed
5. Replace Flashing With New Roofing
Do not reuse old flashing during a roof replacement. Even small bends or hidden corrosion can compromise protection. A roofing professional will always recommend installing new metal flashing when replacing roof shingles to ensure the entire system performs correctly.
- Avoid shortcuts: Always install new step flashing with a new roof
- Inspect flashing before reuse: If in doubt, replace
Step Flashing vs. Other Roof Flashing Types
Here’s how step flashing stacks up against other common flashing types in residential roofing:
| Flashing Type | Best Used For | Key Benefit | Common Material |
| Step Flashing | Roof to wall intersections | Layered defense against leaks | Galvanized steel |
| Continuous Flashing | Long wall sections | Fewer pieces, higher leak risk | Aluminum |
| Kickout Flashing | Bottom of step flashing at wall edges | Directs water away from siding | Galvanized steel |
| Counter Flashing | Chimneys and brick walls | Covers base flashing for durability | Copper or aluminum |
| Valley Flashing | Where two roof slopes meet | Guides water off the roof plane | Steel or aluminum |
Frequently Asked Questions About Step Flashing
Understanding the purpose and process of step flashing installation can help prevent costly mistakes and protect your roof deck from moisture damage.
What happens if step flashing is missing or done incorrectly?
Leaks around walls or chimneys are common when flashing is improperly installed or skipped. It allows moisture into your home’s structure, leading to damage beneath the roofing material.
Is step flashing required by code?
Yes, most building codes require step flashing at all vertical transitions. It is standard practice for any qualified roofing professional.
Can step flashing be reused during a roof replacement?
Reusing flashing is not recommended. It may be bent, rusted, or incompatible with new roof shingles and updated wall flashing systems.
How do I know if step flashing is failing?
Watch for stains near interior walls, peeling paint, or moisture in the attic, especially near roof to wall connections and along the roof plane.
Does step flashing work with a standing seam metal roof?
Yes, but it must be integrated carefully with the panel system and flashing laps to maintain proper drainage and water control.
Other Areas That Need Proper Flashing
Beyond step flashing, other areas require correct flashing techniques to keep your roof sealed and secure:
- Chimneys and skylights: Prone to leaks without layered flashing systems
- Roof valleys: Collect and channel water, require strong valley flashing
- Vents and pipe boots: Must be sealed with both flashing and roofing cement
- Eaves and edges: Drip edge flashing prevents water backup under roof shingles
Get Leak-Free Results with Buckeye State Roofing
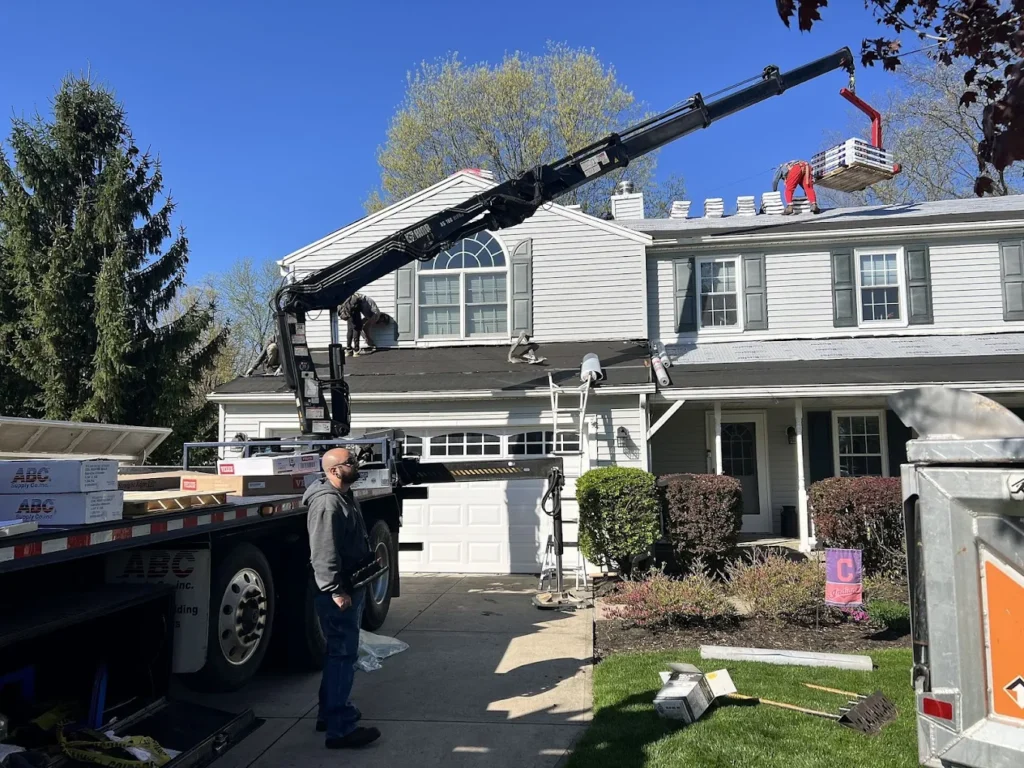
Even small flashing errors can lead to major water damage. Step flashing is one of the most important leak defenses for any roof installation or replacement.
We’re proud to serve home and business owners in Parma, OH, and nearby communities with expert flashing installation, full roof replacements, and professional roofing inspections. Whether you need new wall flashing, upgraded metal flashing, or guidance from a trusted roofing professional, contact Buckeye State Roofing today for leak protection that stands up to Ohio weather.
