
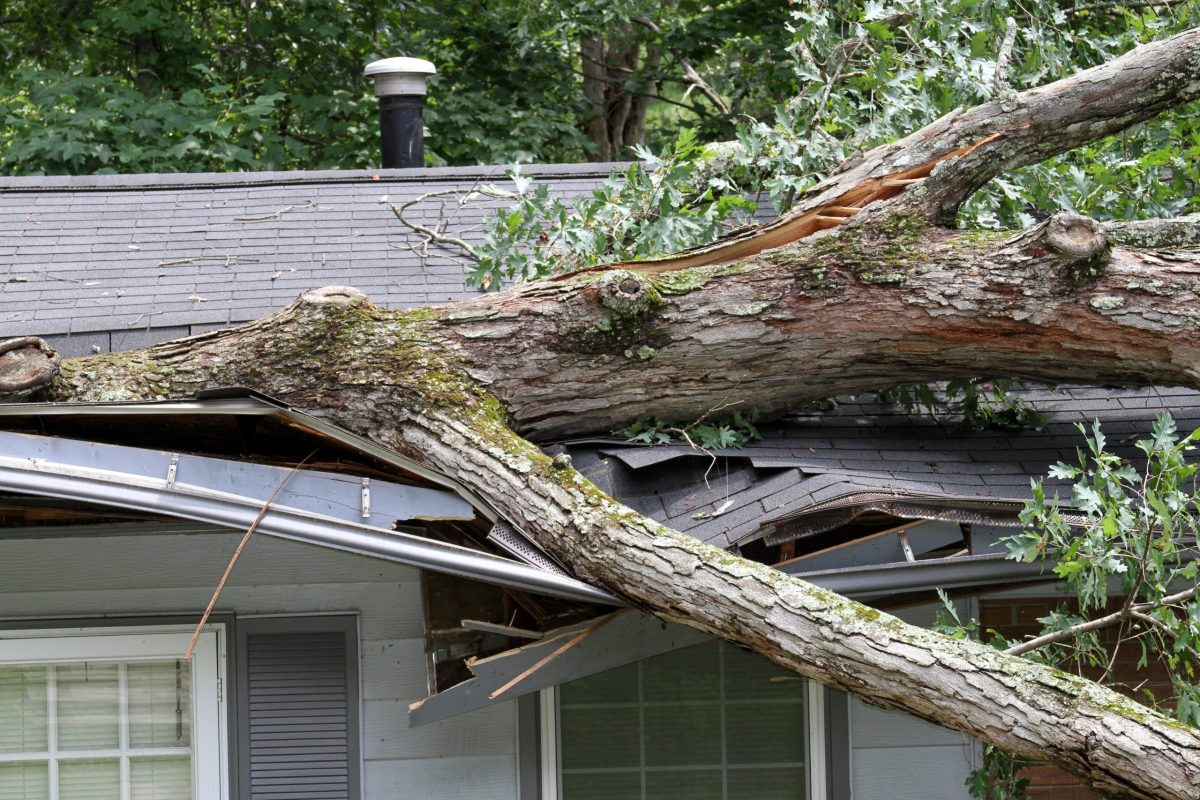
Storm Damage Roof Repair: 8 Steps to Take After a Storm
7/28/26
8 Min Read
The moments after a major storm can feel overwhelming, but knowing what to do next makes all the difference when it comes to storm damage roof repair. High winds, hail, and falling debris can compromise your roof in ways that aren’t always obvious from the ground, and delaying action often turns a manageable repair into a much larger project. For homeowners in North Olmsted and surrounding areas, having a trusted local team ready to respond quickly can make the recovery process far less stressful. This guide walks through exactly what to do in the hours and days following a storm.
In this post, you’ll learn:
- Why acting quickly after a storm protects your home and your wallet
- The eight key steps to take immediately after storm damage occurs
- How to work with your insurance company through the claims process
- Common types of storm damage and how they differ
- Tips for choosing the right roofer to handle repairs
Why Fast Storm Damage Roof Repair Matters

A damaged roof rarely stays a single, contained problem. Once wind or hail compromises your shingles or flashing, every subsequent rainstorm pushes more water into your attic, insulation, and ceilings. Homeowners throughout North Olmsted and surrounding areas who act quickly after a storm typically save money and avoid complications down the line, especially since Ohio weather rarely gives a damaged roof much time to rest before the next system rolls through.
- Preventing secondary damage: Fast repairs stop water from spreading into insulation, drywall, and framing where it can cause mold and structural issues.
- Smoother insurance claims: Documenting and reporting damage quickly helps support a stronger, faster insurance claim.
- Lower overall repair costs: Addressing storm damage early is almost always less expensive than waiting until a small issue becomes a major one.
- Protecting your home’s safety: Compromised roofing materials can pose real risks during the next storm if left unaddressed.
- Peace of mind: Taking action right away means one less thing to worry about while you handle everything else storms tend to disrupt.
8 Steps to Take After Storm Damage
Knowing exactly what to do after a storm helps you move through the process calmly and efficiently. Here are the eight steps every homeowner should follow.
1. Prioritize Safety First
Before inspecting anything, make sure the area around your home is safe. Downed power lines, unstable trees, or debris on the roof can all pose serious hazards immediately after a storm.
- Stay away from downed power lines and report them to your utility company
- Avoid walking on the roof yourself, especially if it’s wet or visibly damaged
- Keep children and pets away from debris piles until the area is cleared
2. Document the Damage from the Ground
Once it’s safe, walk around your property and take photos and videos of any visible damage. Ground-level documentation is valuable for insurance purposes and gives your roofer a starting point before their inspection, even if some of the more serious damage ends up being higher up on the roofline than you can see from the yard.
- Photograph missing shingles, dented gutters, or debris in the yard
- Capture wide shots of the roofline along with close-ups of specific damage
- Note the date and time of the storm for your records
3. Check for Interior Leaks
Storm damage doesn’t always show up outside first. Check your attic, ceilings, and upper floor walls for any signs of water intrusion that may point to a compromised roof.
- Look for fresh water stains or dripping in the attic
- Check closets and rooms on the top floor for musty smells
- Address any active leaks with a bucket or tarp while you wait for repairs
4. Contact Your Insurance Company
Report the damage to your insurance provider as soon as possible after the storm. Most policies require timely notification, and starting the claims process early helps avoid delays, particularly during major storm events when adjusters are handling a high volume of claims across the region.
- Provide your documented photos and a summary of the damage
- Ask about your policy’s deductible and coverage for storm related repairs
- Request a timeline for when an adjuster will inspect the property
5. Schedule a Professional Roof Inspection
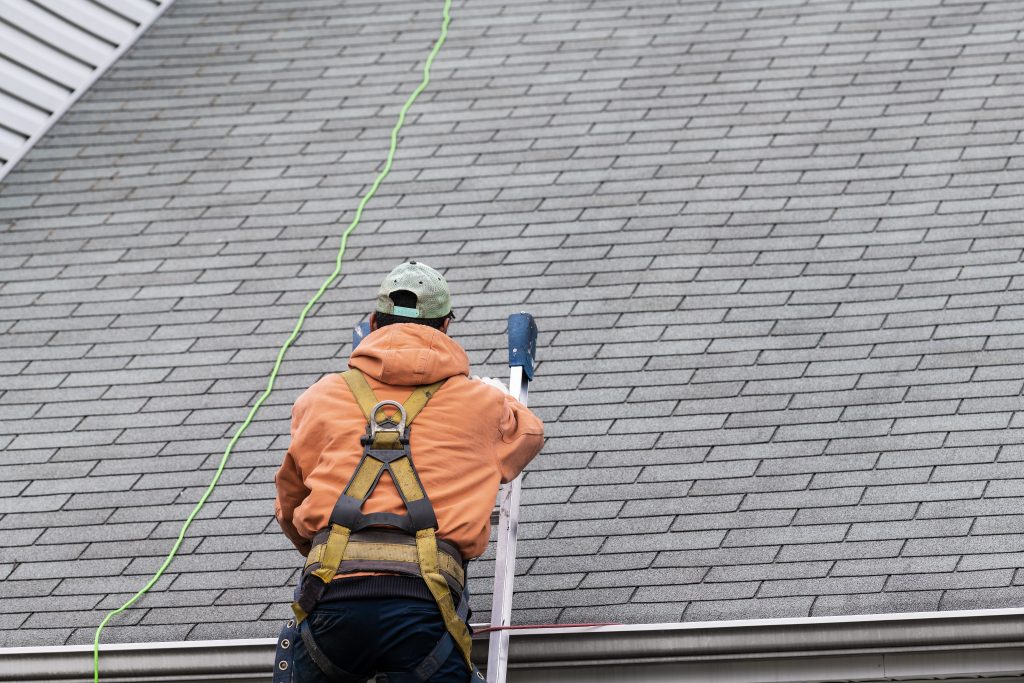
A trained roofer can identify damage that isn’t visible from the ground, including loosened shingles, compromised flashing, or granule loss. Scheduling this inspection promptly ensures nothing gets missed, and it also gives you an independent record of the roof’s condition before an insurance adjuster arrives.
- Choose a roofer experienced with storm damage assessments
- Ask for a detailed written report you can share with your insurance company
- Request photos taken directly on the roof to support your claim
6. Arrange Temporary Repairs if Needed
If your roof has active leaks or exposed areas, temporary measures like tarping can prevent further damage while you wait for permanent repairs. This step is especially important if severe weather is expected again soon.
- Ask your roofer about temporary tarping or board-up services
- Avoid DIY temporary fixes on a wet or unstable roof
- Keep receipts for any temporary repair costs for your insurance claim
7. Review the Insurance Adjuster’s Assessment
Once the insurance adjuster completes their inspection, compare their findings against your roofer’s report. Discrepancies between the two are common and worth addressing before finalizing your claim.
- Ask your roofer to walk through the adjuster’s report with you
- Request a reinspection if damage appears to have been missed
- Keep detailed notes of all communication with your insurance company
8. Move Forward with Permanent Repairs
Once your claim is approved, schedule the permanent repair work with a trusted roofing contractor. Timely repairs help restore your roof’s protection before the next round of severe weather arrives, and choosing a contractor with strong communication practices makes the final stretch of the process much less stressful.
- Confirm the scope of work matches what was approved in your claim
- Ask about warranty coverage on materials and workmanship
- Schedule a final walkthrough once repairs are complete
Working Through the Insurance Claims Process
Navigating an insurance claim after storm damage can feel confusing, especially if it’s your first time filing one. A little preparation goes a long way toward keeping the process moving smoothly for homeowners in North Olmsted and surrounding areas, and understanding what to expect ahead of time reduces a lot of the back and forth that tends to slow claims down.
- Understand your policy: Review your coverage details, deductible, and any exclusions related to storm or wind damage before filing.
- Keep thorough records: Save every email, phone call summary, and document related to your claim in one place.
- Communicate promptly: Respond quickly to requests from your insurance company to avoid unnecessary delays.
- Work with an experienced roofer: A roofer familiar with insurance claims can help ensure your documentation supports a fair settlement.
- Know your rights: You’re generally not required to use a contractor recommended by your insurance company, and choosing your own roofer is usually within your rights as a policyholder.
Common Types of Storm Damage: What to Look For
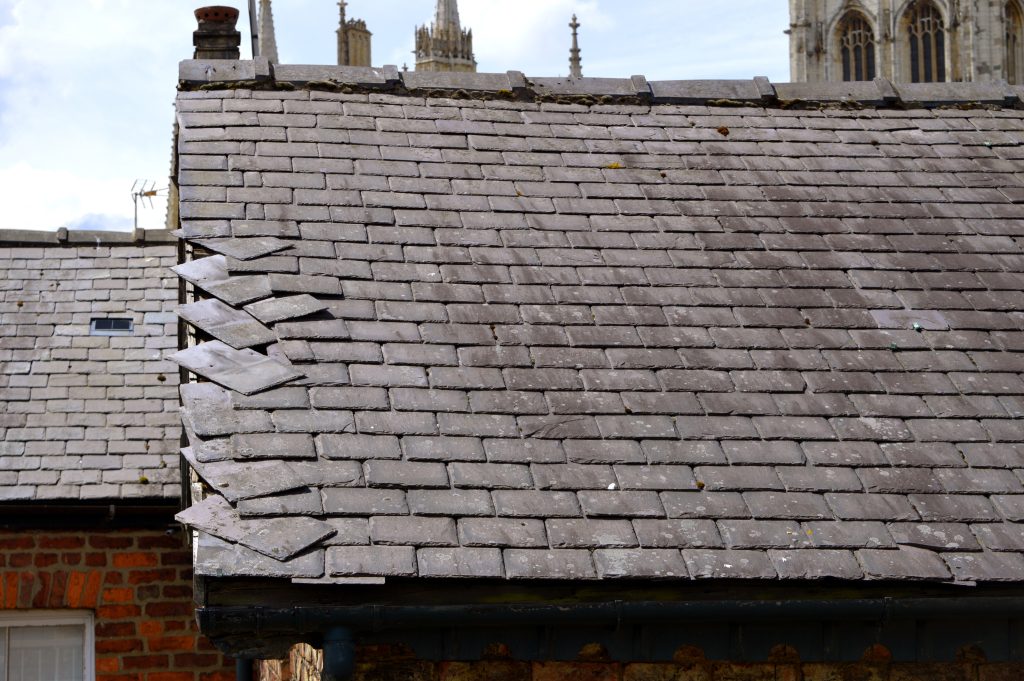
Not all storm damage looks the same, and understanding the differences helps you know what your roofer and insurance adjuster will be evaluating. The table below breaks down the most common types of storm related roof damage, along with what typically causes each one.
| Damage Type | What It Looks Like | Typical Cause |
| Wind damage | Missing, lifted, or torn shingles | High winds during severe storms |
| Hail damage | Dented or bruised shingles, granule loss | Hailstorms of varying intensity |
| Debris impact | Punctures, cracks, or dents from fallen objects | Falling branches or wind-blown debris |
| Water intrusion | Interior stains, dripping, or mold growth | Compromised shingles or flashing allowing water in |
| Flashing damage | Loose or missing flashing around chimneys and vents | Wind uplift or impact during a storm |
A few additional points worth knowing about storm damage:
- Hail damage isn’t always obvious: Bruised shingles can look fine at first glance but lose their protective ability over time.
- Wind damage often starts at the edges: Roof edges and ridges are typically the first areas to show wind related lifting or tearing.
- Multiple storms compound damage: A roof weakened by one storm is more vulnerable during the next, even if the damage wasn’t obvious the first time.
- Age matters: Older roofs generally sustain more damage from the same storm compared to newer roofing systems.
Trust Buckeye State Roofing for Storm Damage Roof Repair
Storms can strike quickly, but how you respond in the days that follow has a lasting impact on your home’s protection and your wallet. From documenting damage to navigating insurance claims and scheduling repairs, taking the right steps early makes the entire process smoother. Homeowners throughout North Olmsted and surrounding areas count on experienced, responsive roofers to guide them through storm recovery with confidence.
The sooner storm damage is addressed, the less likely it is to turn into a bigger, more expensive problem down the line. A methodical approach, paired with the right professional support, gives your home the best chance of coming through storm season with minimal lasting impact.
If your roof has sustained storm damage, don’t wait to address it. Contact us today and let the team at Buckeye State Roofing inspect your roof, document the damage, and get your repairs scheduled quickly and correctly.
